
Tara Flannery is a Certified Professional Photographer (CPP), Photographic Craftsman, and Master of Photography based in Houston, TX. Tara Flannery Photography specializes in corporate headshots. See more headshots in the gallery. Contact me to book your professional headshot today!
Table of Contents
“Should I wear the red tie… or the blue one?”
It’s one of the most common questions I get from men before a headshot session—and honestly, it’s a good one to ask.
Because while it may seem like a small detail, your tie plays a much bigger role in your headshot than you might think.
The truth is, choosing the right tie isn’t about what’s trending or what you like best—it’s about what photographs well and supports your overall image.
Let’s break it down.
Why Your Tie Matters in a Headshot
Your tie sits close to your face, which means it naturally draws attention.
A well-chosen tie will:
- Complement your overall look
- Keep the focus on your face
- Add polish and professionalism
But the wrong tie can:
- Compete for attention
- Distract from your expression
- Make your photo feel busy or unbalanced
In a strong headshot, every detail should work together—and your tie is no exception.
Keep It Simple: Patterns That Work (and What to Avoid)
When it comes to ties for headshots, simple always wins.
What works best:
- Solid colors
- Subtle textures
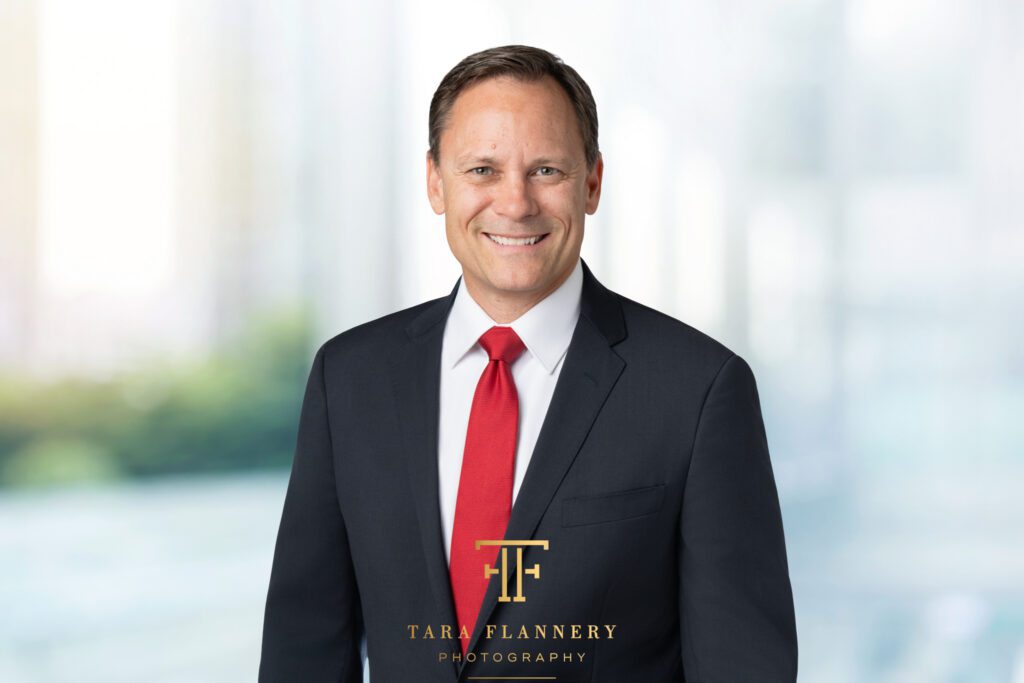
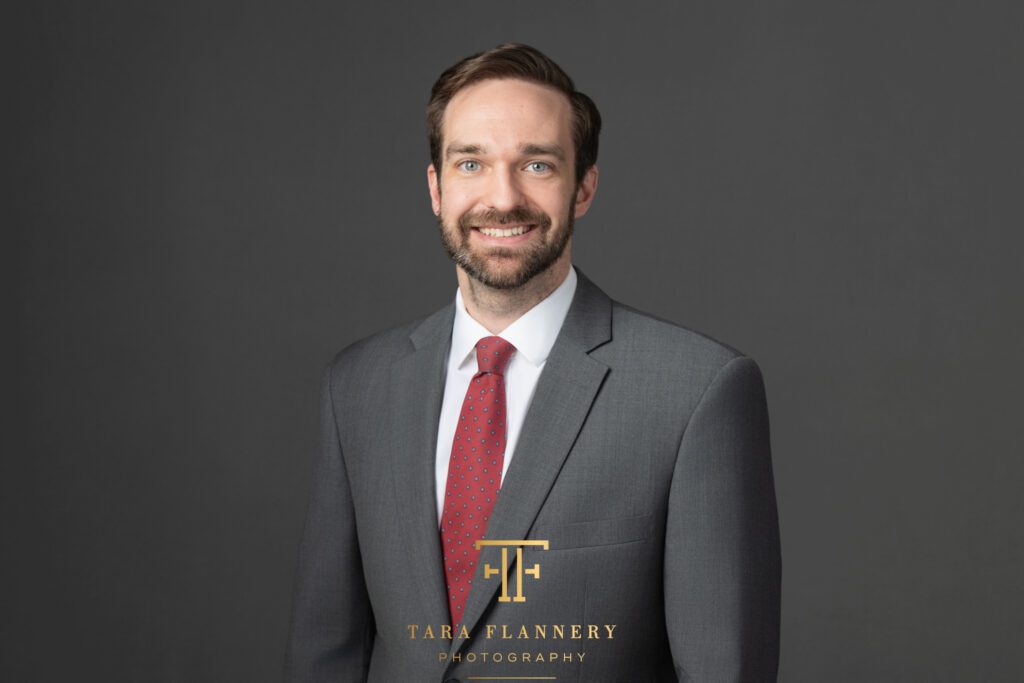
- Small, understated patterns
What to avoid:
- Loud prints
- Large patterns
- High-contrast designs
Why? Because bold patterns tend to pull attention away from your face—which is exactly what you don’t want in a professional headshot.
Choosing the Right Color
Color is one of the most important factors in how your tie will photograph.
Here are some of the most reliable choices:
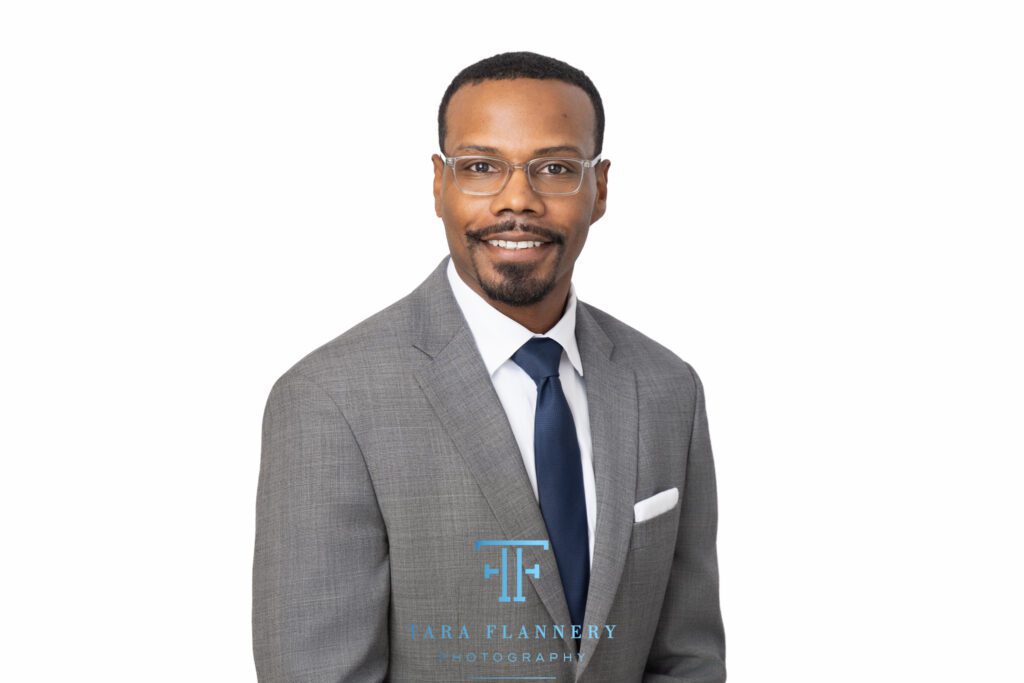
- Navy → clean, trustworthy, and universally flattering
- Burgundy / deep red → confident, approachable, and strong on camera
- Charcoal / dark gray → modern, understated, and professional
These colors are considered classic for a reason—they photograph cleanly and help create a polished, timeless look.

Think About Your Brand
This is something many people overlook.
Your tie isn’t just part of your outfit—it can also reflect your brand or organization.
I once had a client who was the head of a school ask me to adjust his tie color after the session to better match the school’s branding. It made perfect sense—his image needed to align with his role.
If you’re using your headshot for your business, website, or leadership role, even small details like color can help reinforce your overall message.
Texture and Fit: The Details That Make a Difference
When it comes to a professional headshot, the small details matter more than most people realize—and that includes both the texture and the fit of your tie.
Choose the Right Texture
Not all fabrics photograph the same.
Best options:
- Silk or silk-like materials
- Subtle textured weaves
These create a slight sheen or depth that adds dimension without being distracting.
What to avoid:
- Overly shiny fabrics (can create glare under lighting)
- Completely flat materials (can look dull on camera)
The goal is balance—something that adds interest without pulling focus from your face.
Pay Attention to Fit
Tie width plays a bigger role in your overall look than you might think.
- A standard width (around 3–3.25 inches) is the safest choice
- Your tie should roughly match the width of your jacket lapel
This keeps everything looking proportional and polished in your headshot.
Final Thoughts
When it comes to your headshot, the goal isn’t to stand out because of your tie.
It’s to look polished, confident, and professional—without distractions.
Small details like color, pattern, and texture might seem minor, but they make a noticeable difference in how your final image comes together.
Need Help Choosing What to Wear?
One of the things I guide my clients through before every session is exactly this—what to wear, what works on camera, and how to make sure every detail supports your image.
If you’re planning a headshot session and want a result that feels intentional and polished, I’m here to help.
Click HERE to start planning your session.
Tara Flannery is a Certified Professional Photographer (CPP), Photographic Craftsman, and Master of Photography based in Houston, TX. Tara Flannery Photography specializes in corporate headshots. See more headshots in the gallery. Contact me to book your professional headshot today!