
How to Choose the Perfect Headshot: A 5-Step Guide to Selecting Your Best Image

Tara Flannery is a Certified Professional Photographer (CPP)  and Craftsman based in Houston, TX.  Tara Flannery Photography specializes in corporate headshots.  Here are some tips on How to Choose the Perfect Headshot: A 5-Step Guide to Selecting Your Best Image.  See more headshots in the gallery.  Contact me to book your professional headshot today!


How to Choose the Perfect Headshot: A 5-Step Guide to Selecting Your Best Image

Your headshot is the first impression that many people will have of you, whether it’s on your LinkedIn profile, your website, or in other professional contexts. It’s important for you to choose a headshot that reflects your personality, professionalism, and style.


Here are some steps to help guide you in choosing the perfect headshot image.


Step 1.  Understand the Purpose of Your Headshot:  Before you start searching for the perfect headshot, you need to understand the purpose of your image. What message do you want to convey? Are you looking to show your approachability or your seriousness? Is your target audience looking for someone with a specific personality or appearance? Understanding the purpose of your headshot will help you choose an image that matches your intended message.


Step 2.  Consider Your Brand:  Your headshot should reflect your personal brand, whether you’re a business professional or a creative freelancer. Consider the colors, lighting, and composition of your headshot, and how they align with your brand. If you’re not sure what your brand is, take some time to think about your values and what makes you unique. Then, look for headshots that align with that style.


Step 3.  Look for Professionalism:  Your headshot should convey professionalism, regardless of your industry or occupation. This means choosing an image that is high-quality, well-lit, and appropriately styled. Avoid using selfies or casual photos, as they may not convey the level of professionalism you want to show. Instead, choose a headshot that shows you in a confident, professional light.


Step 4.  Choose a Flattering Pose:  When choosing a headshot, consider your pose and facial expression. You want to choose a pose that is flattering and shows off your best features. Avoid images where you appear to be slouching or looking away from the camera, as this can make you seem unapproachable. Instead, choose a pose that is natural and confident, with a genuine smile that conveys your personality.


Step 5:  Get Feedback:   Once you’ve narrowed down your headshot choices, get feedback from others. Ask friends, family, or colleagues for their opinions, and consider asking your professional photographer or a branding expert. They can help you choose the perfect headshot that conveys your personality and professionalism.


Choosing the perfect headshot takes time and effort, but it’s well worth it. Your headshot is a powerful tool that can help you make a great first impression, convey your personal brand, and attract new opportunities. By following these steps, you can choose a headshot that reflects your best self and helps you achieve your goals.


Professional Headshots

During our time together, I’ll help coach you on the tips above.  With posing, lighting, and expression, we will create a the perfect headshot for you.  And I’ll help you choose the best image.  I have over 12 years of experience with headshots specifically and can help you choose the best one for you.
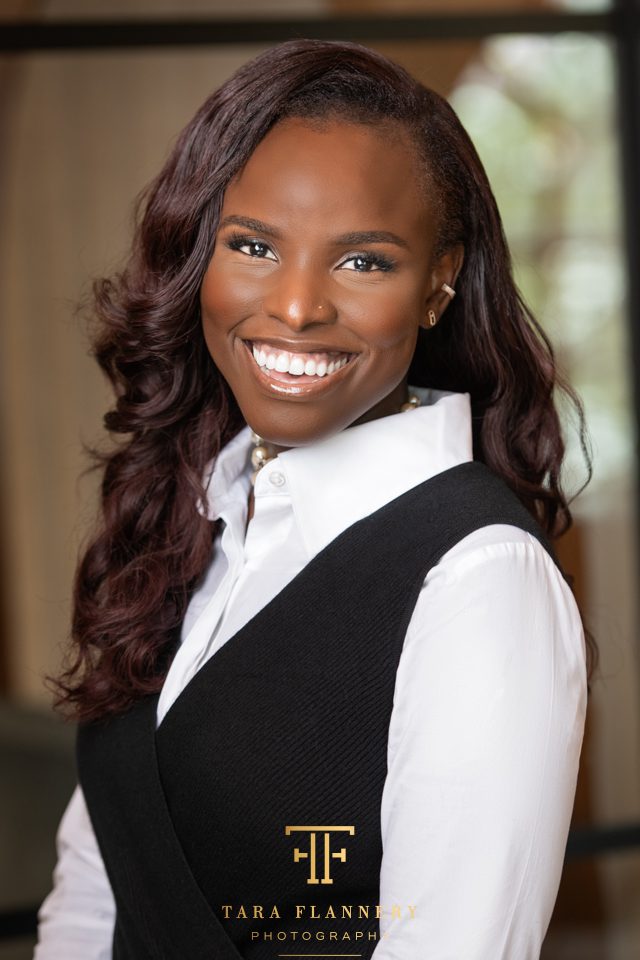
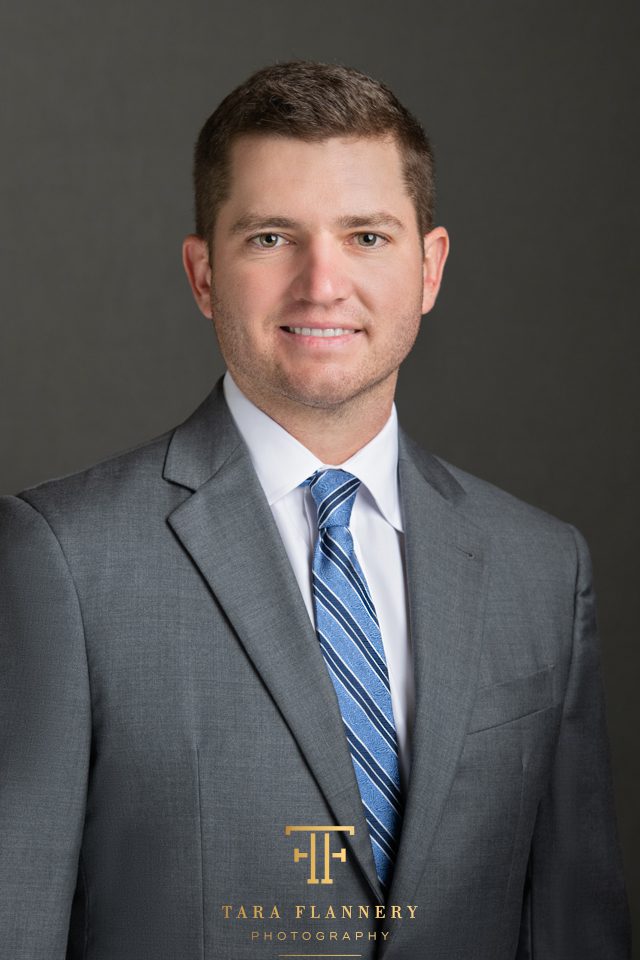
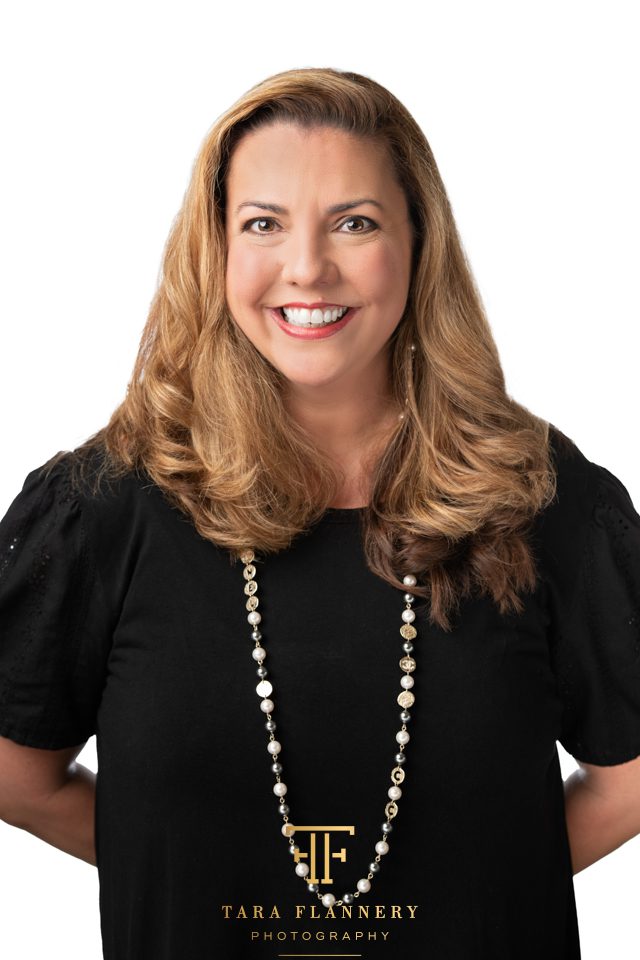
Corporate Women's Headshot

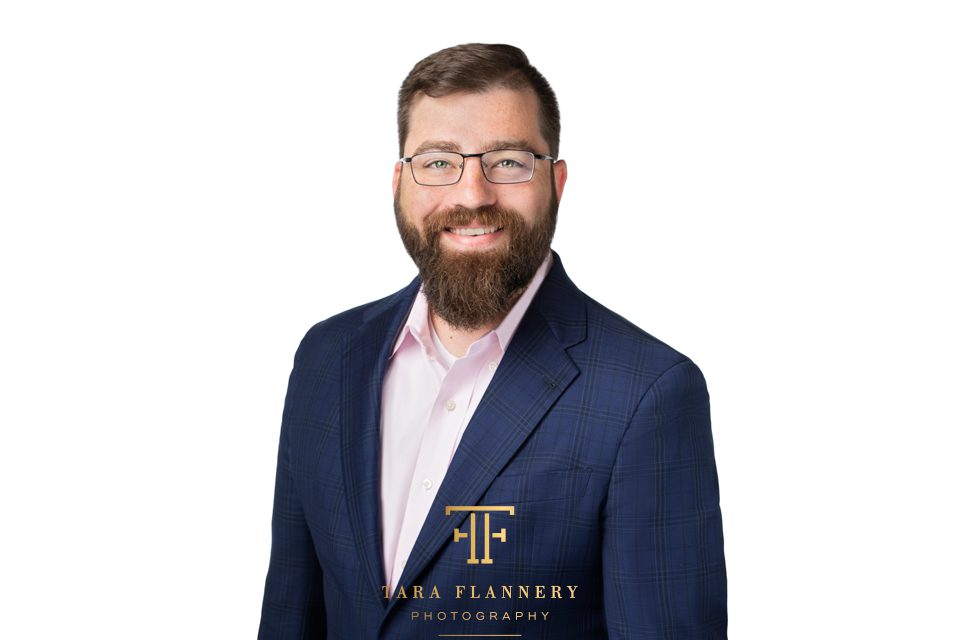
Professional business headshot


Accountant professional headshot


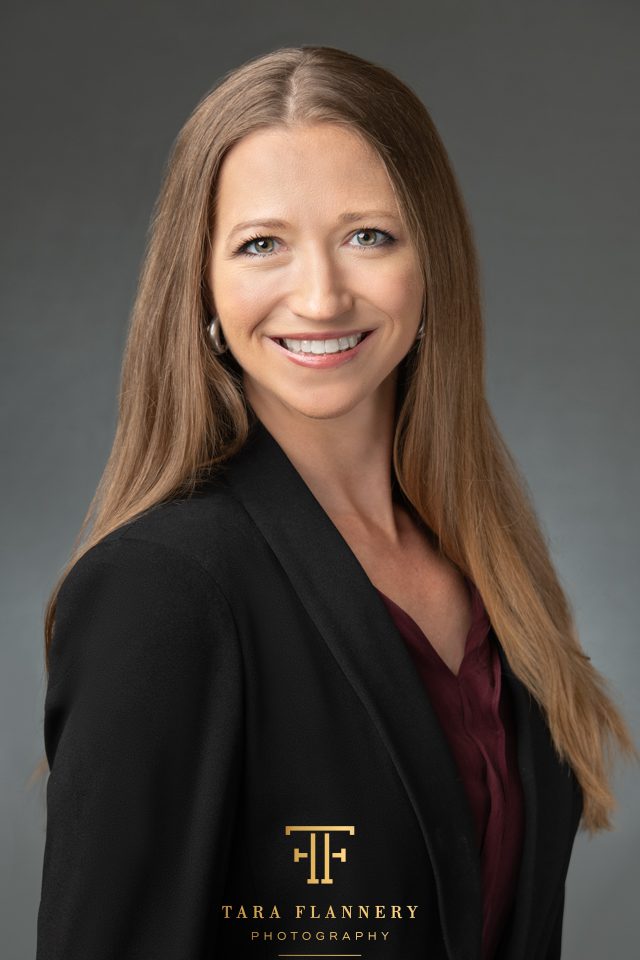
Professional Designer Business Headshot for Woman

professional corporate headshot

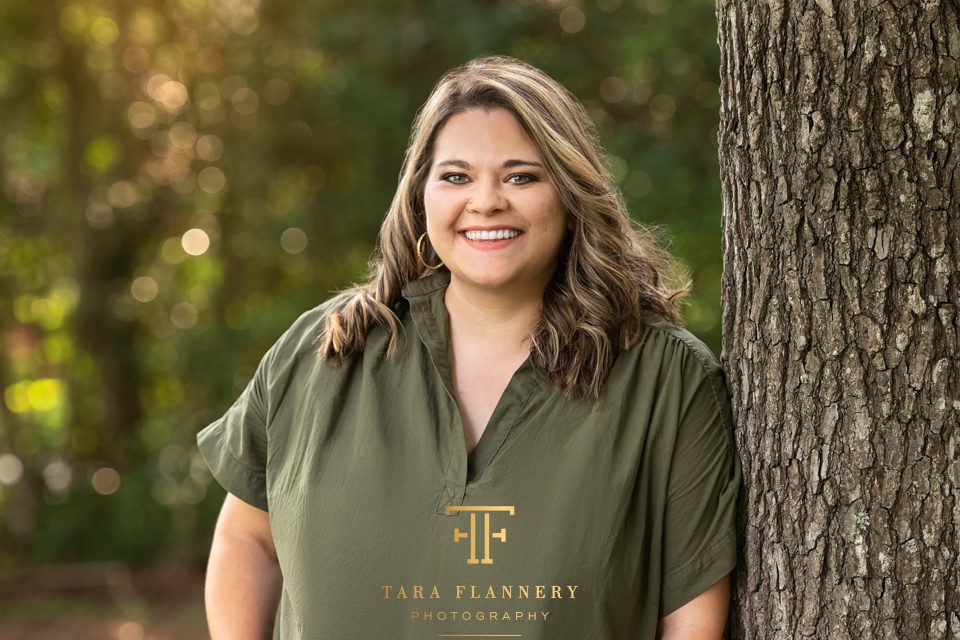
therapist headshot in park


- INSTAGRAM -

@taraflanneryphotography

Capture One, if you’re looking for someone to sponsor… I’m your girl. 😉📸

But seriously—if you’re a headshot or portrait photographer and you haven’t tried shooting tethered yet, let me introduce you to one of my favorite workflow upgrades.

Tethering simply means connecting your camera to a computer so your images appear on a larger screen as you shoot. I use a wired connection straight into Capture One, which makes it easy to review images during the session, catch the little details I might miss on the back of my camera, and favorite the strongest shots as I go.

And when I’m finished? My selects are already organized, so I can transfer everything to my main computer at home and jump into editing without sorting through the entire session all over again.

I used to tether wirelessly, but switching to a wired setup has made the process much more reliable and seamless for me.

It’s one of those small workflow changes that makes a BIG difference—especially when you photograph a lot of headshots.

And if you’re just getting started in photography—or looking for ways to improve your setup, lighting, posing, and workflow—I have a whole collection of free resources for photographers waiting for you at the link in my bio. 📸

Photographers, are you shooting tethered yet? 👇🏻
Family photos with a 4-year-old? You just have to roll with it. 😂🤍

Little kids aren’t going to stand perfectly still, follow every direction, and smile on command—and I don’t expect them to!

I’d much rather meet them where they are. We’ll play, move around, be silly, take little breaks when we need them, and work toward those sweet moments in between.

That’s part of why I love family sessions so much. The goal isn’t perfectly behaved kids or a picture-perfect hour. It’s capturing your family as they are right now.

And yes, we’ll still get that beautiful everyone-looking-at-the-camera photo for the frame. 😉 But sometimes the personality-filled moments end up being the favorites.

🍂 I still have a few fall family portrait dates available! Head to the link in my bio to reserve your session.
Honestly… a little bit of everything. 📸

From professional headshots and personal branding to senior portraits and family sessions, I love creating photos that help people and businesses tell their story.

And there’s plenty more I can help with, too—large team group composites, in-office headshots for teams with different schedules, acting and modeling headshots, office branding, and more.

Basically, if you need photos for yourself, your family, or your business, let’s talk about what you have in mind. I’ll help you figure out the best way to make it happen.

📸 Not sure where to start? Book a consultation with me through the link in my bio.
Money may not buy happiness, but having photos of your family to look back on years from now? That’s pretty priceless. 🤍

Fall family portrait season is here, and I have a few weekend dates still available (spots are filling fast!) 👇🏻

September 20
October 3, 10, & 17
November 7 & 15

If you’ve been meaning to update the family photos, document this season, or get those holiday card photos checked off your list, this is your sign to get on the calendar.

And once you book, I’ll make sure you’re not left wondering what to wear, where we’re going, what to bring, or what to expect. My Family Session Welcome Guide walks you through everything you need to know to feel prepared for your session. (linked in my bio)

📸 Ready to make some memories worth keeping? Grab your date through the link in my bio.
I’m gonna let you in on my secret… 👀

These are the camera settings I use as my starting point when I’m shooting during golden hour:

☀️ APERTURE
For one person: f/2.8–f/3.2
For families or groups: f/5.6

A wider aperture gives you that beautiful separation and soft background when you’re photographing one person. With a group, I stop down to help keep everyone in focus.

☀️ SHUTTER SPEED
I start around 1/160 sec—but if I have kids running, a couple moving around, or anything else with more movement, I’ll increase my shutter speed to keep everything sharp.

☀️ ISO
ISO 400 is my starting point, and then I adjust up or down depending on how much light I have.

The biggest thing to remember? These aren’t magic numbers you have to use every time.

Golden hour changes quickly, and your settings should change with it. Use these as a starting point, watch your light, and adjust for the people and movement in front of your camera.

And if you’re building your photography kit and wondering what gear is actually worth investing in, I put together my Photographer’s Gear Guide with the cameras, lenses, lighting, and equipment I use in my own business.

Grab your free copy through the link in my bio! 📸

- STAY IN TOUCH -

Serving the Greater Houston, Texas Area

tara@taraflannery.com

713-412-5437

Facebook logo
Instagram logo
Pinterest logo
Linked In logo

FloDesk FREE STYLE GUIDE

Tara is a member of the Professional Photographers of America PPA.
Tara is a Certified Professional Photographer.
Tara is a member of TPPA Texas Professional Photographer's Association.
Tara has earned her Master of Photography degree.
Tara has earned her Photographic Craftsman certification.
Tara is a member of the Professional Photographers Guild of Houston PPGH.