
Get FRAMED!! | Houston Family Photographer

There’s no better way to give your home personality than covering your walls with favorite family photos! But we’ve all been there… staring down a bare wall with no idea where to begin! Which photos? In what frames? And how do you arrange them?  First, RELAX! Here are a few tips to get you on your way!

Tip #1: A single picture must be large enough for the wall on which it will be hung or you will create a desolate look instead of a warm, inviting one. Smaller frames have more impact when grouped together.
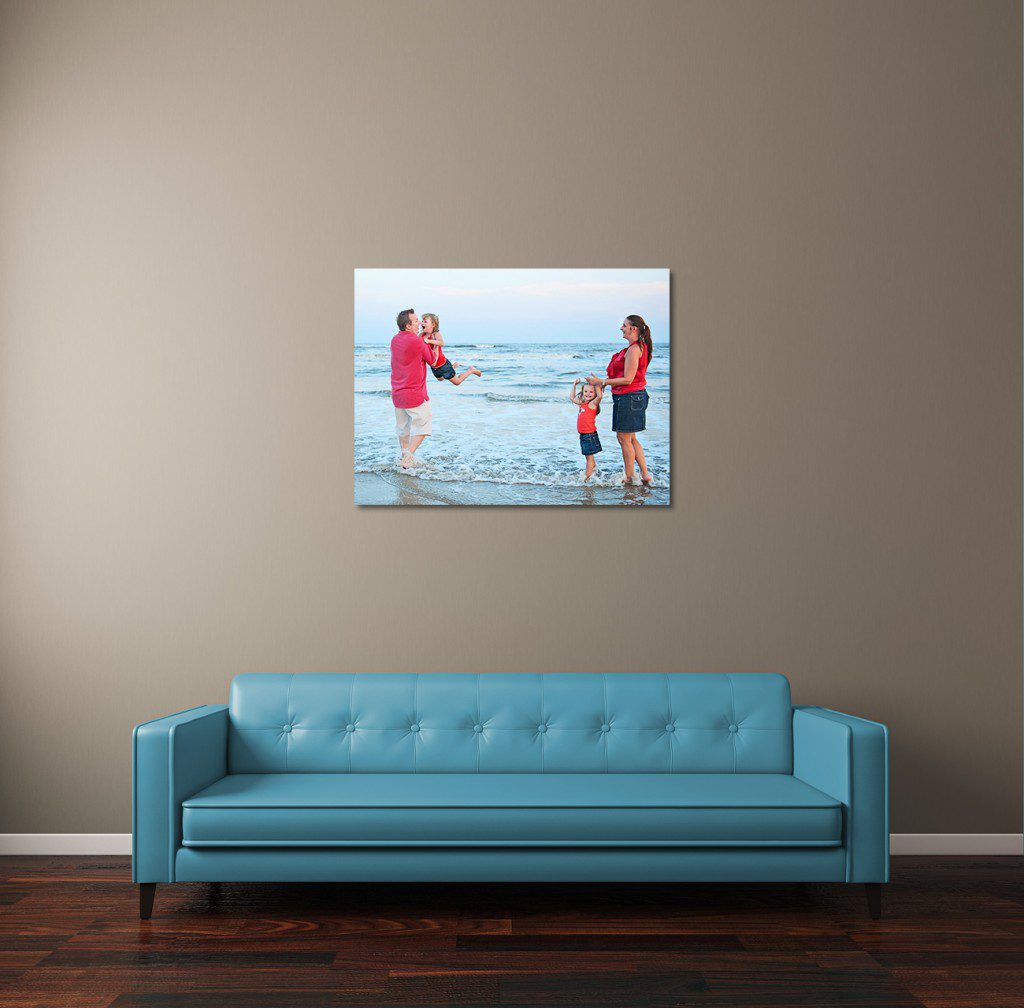
Anderson Collage 2

Tip #2: Place your frames at eye level, usually five feet from the floor. If your room has high ceilings, hang them slightly higher.
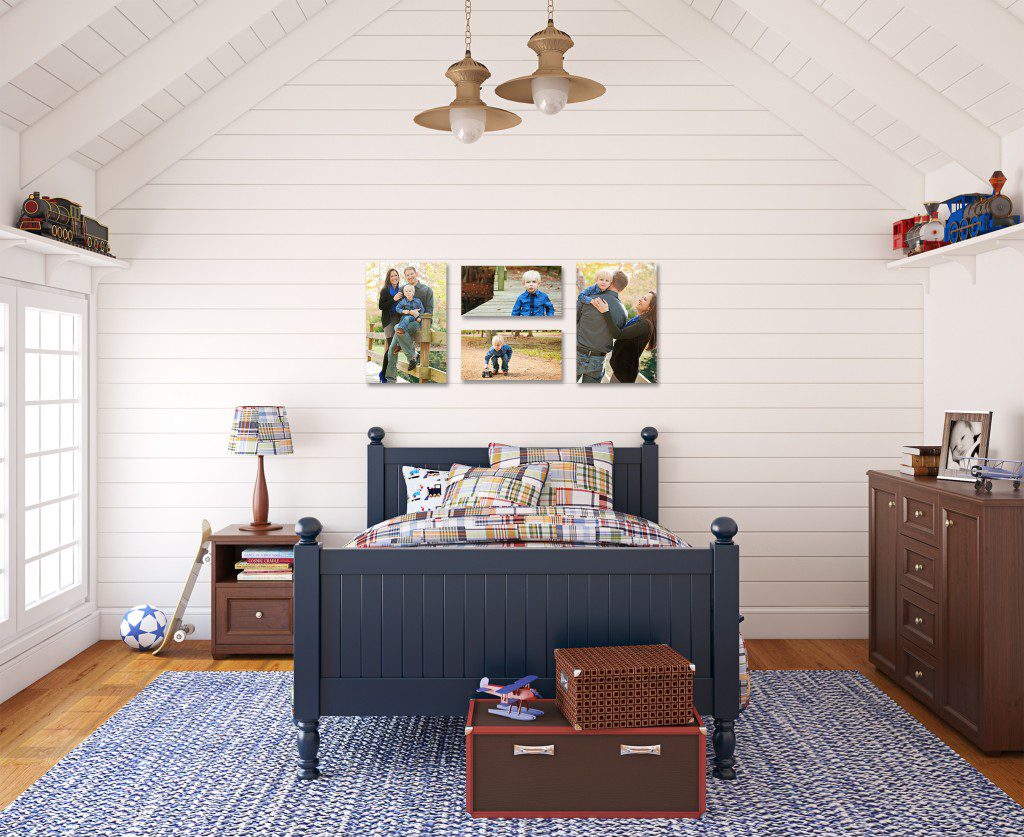
Durand Wall Guide 2

Tip #3: Create an interesting arrangement by displaying frames of varying shape and size. Hang frames both horizontally and vertically to add interest.
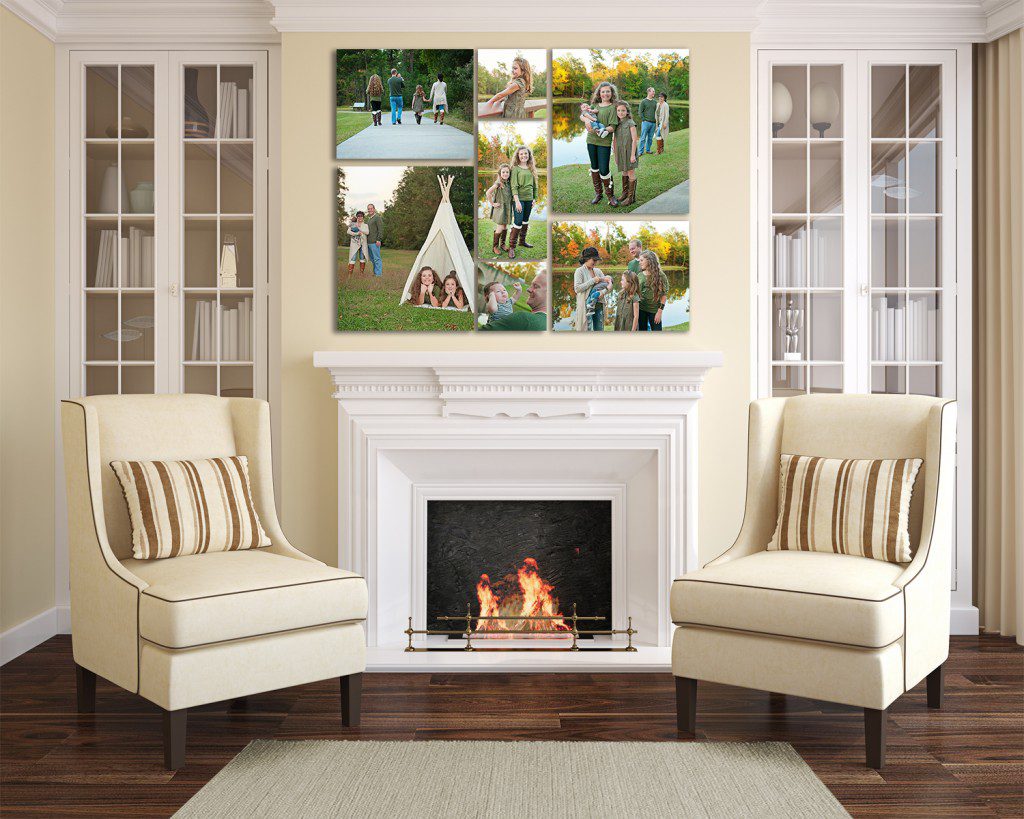
McDaniel Wall Guide 1

Tip#4: Plan the layout of your frames before hanging, either using paper cut the same size as your pictures and placed on the wall, or by arranging them on a workspace or floor. Take it slow. Planning it out before you grab the hammer will avoid a smattering of extra nail holes in your walls (and a whole lot of frustration)!

Tip #5: Not sure which photos to display?  First, don’t worry about the pictures themselves, or their ‘compatibility’ with the room. If you like the pictures, they will be perfect in any room! If you’re worried about having a sense of unity, create one by selecting mats and frames in the colors and styles that fit your room’s decor. The frames themselves do not have to be identical to each other as long as they are compatible with the decor, as well as to each other.

No work of art is more precious than your own family portraits, and they should be treated as such! The right framing and wall arrangement can turn any home into a premier gallery!

- INSTAGRAM -

@taraflanneryphotography

My Photographer Gear Guide is linked in my bio if you’re trying to figure out what’s actually worth investing in when you’re first starting out.

Because the truth is—you don’t need everything right away.

When you’re new, it’s easy to feel like you need all the gear… but really, it comes down to a few key pieces.

A solid camera body and a really good lens will take you further than a full bag of equipment you don’t know how to use yet.

If you’re deciding where to spend your money, start there.

A 24–70mm or 70–200mm lens will cover more than you think—and give you the flexibility to shoot a wide range of sessions without overcomplicating things.

Curious—what was the first piece of gear you invested in?
‼️ No clients (or videographers) were harmed in the making of this video 🤣

(For the record—this is very much a joke.)

But if you are a photographer, you know the real challenge isn’t getting someone in front of the camera… it’s knowing how to guide them once they’re there.

Small adjustments = big difference in how confident and natural someone looks.

And having a go-to posing flow makes everything feel easier—for you and your client. (so you don't resort to violence 😉)

➡️ I put together a Headshot Posing Flow Cheat Sheet to help with exactly that—link in bio.
A quick look at the people and brands I had the chance to photograph this month 👇🏻

Grateful for every person and team that trusted me to capture this season of their business.

Each session is different, but the goal is always the same—to create images that actually represent you well and support where you’re going next.

If you’ve been thinking about updating your headshot or branding photos, now is a great time to get it scheduled before things get busy later in the year.

📩 You can book your session through the link in my bio.
Taking team photos that actually look like your team 👇🏻

Clean. Consistent. Professional.

Because when your entire team shows up cohesively across your website, LinkedIn, and marketing… it makes a difference.

It builds trust.
It feels more established.
And it reflects the level your business is operating at today.

If you’re planning a team session, there’s more to it than just picking a date and showing up.

That’s exactly why I created a Corporate Headshot Planner—to help you organize everything ahead of time so your session runs smoothly and your final images feel aligned.

📥 Grab it through the link in my bio and start planning your team’s update.

- STAY IN TOUCH -

Serving the Greater Houston, Texas Area

tara@taraflannery.com

713-412-5437

Facebook logo
Instagram logo
Pinterest logo
Linked In logo

FloDesk FREE STYLE GUIDE

Tara is a member of the Professional Photographers of America PPA.
Tara is a Certified Professional Photographer.
Tara is a member of TPPA Texas Professional Photographer's Association.
Tara has earned her Master of Photography degree.
Tara has earned her Photographic Craftsman certification.
Tara is a member of the Professional Photographers Guild of Houston PPGH.